This guide takes you through the steps to create an RO-Crate metadata file, using a top-level collection for language data as an example. To view more details and screenshots of each section discussed, select the click-through links throughout the page.
Open Directory
Select Mode
Add Entity Metadata
Save RO-Crate
Append Data from Spreadsheet
Open Directory
- Open Crate-O in a compatible browser.
- In the Main Menu, select Open Directory.
- Navigate to a folder where the RO-Crate will be saved, or create a new one, then confirm your selection.
- For the pop-up message asking Let site view files?, select View Files.
- Your current working directory will be displayed in the Selected Directory section in the Mode Selector.
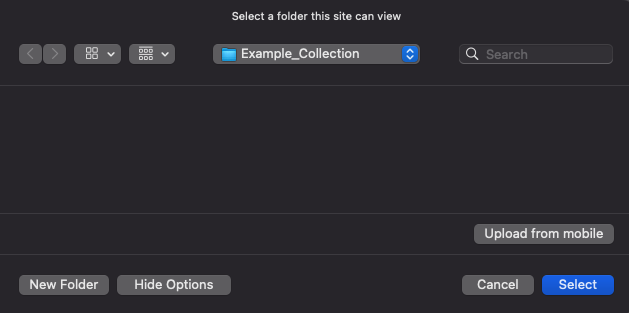
Image Source: LDaCA
Select Mode
- In the Mode Selector, the Mode dropdown shows the current mode that is being displayed, i.e. the metadata framework associated with your collection.
- Change the mode from the default Simple RO-Crate Dataset to Language Data Commons top-level Collection (corpus).

Image Source: LDaCA
Add Entity Metadata
- The Current Entity section shows your location in the current RO-Crate.
- The Property Groups panel allows you to navigate to the various groups associated with your RO-Crate.
- The Entity Properties panel is where you can add data about your collection.
- For blank RO-Crates, the following missing property messages will appear by default. Clicking the blue Add buttons will automatically add these missing items to your RO-Crate.

Image Source: LDaCA
- Enter the entity properties you have for your collection. Add as little or as much information about your collection as you like, as this can be saved and worked on further later. To browse all the metadata entities associated with the Language Data Commons (LDAC) Mode, see Metadata for Language Data.
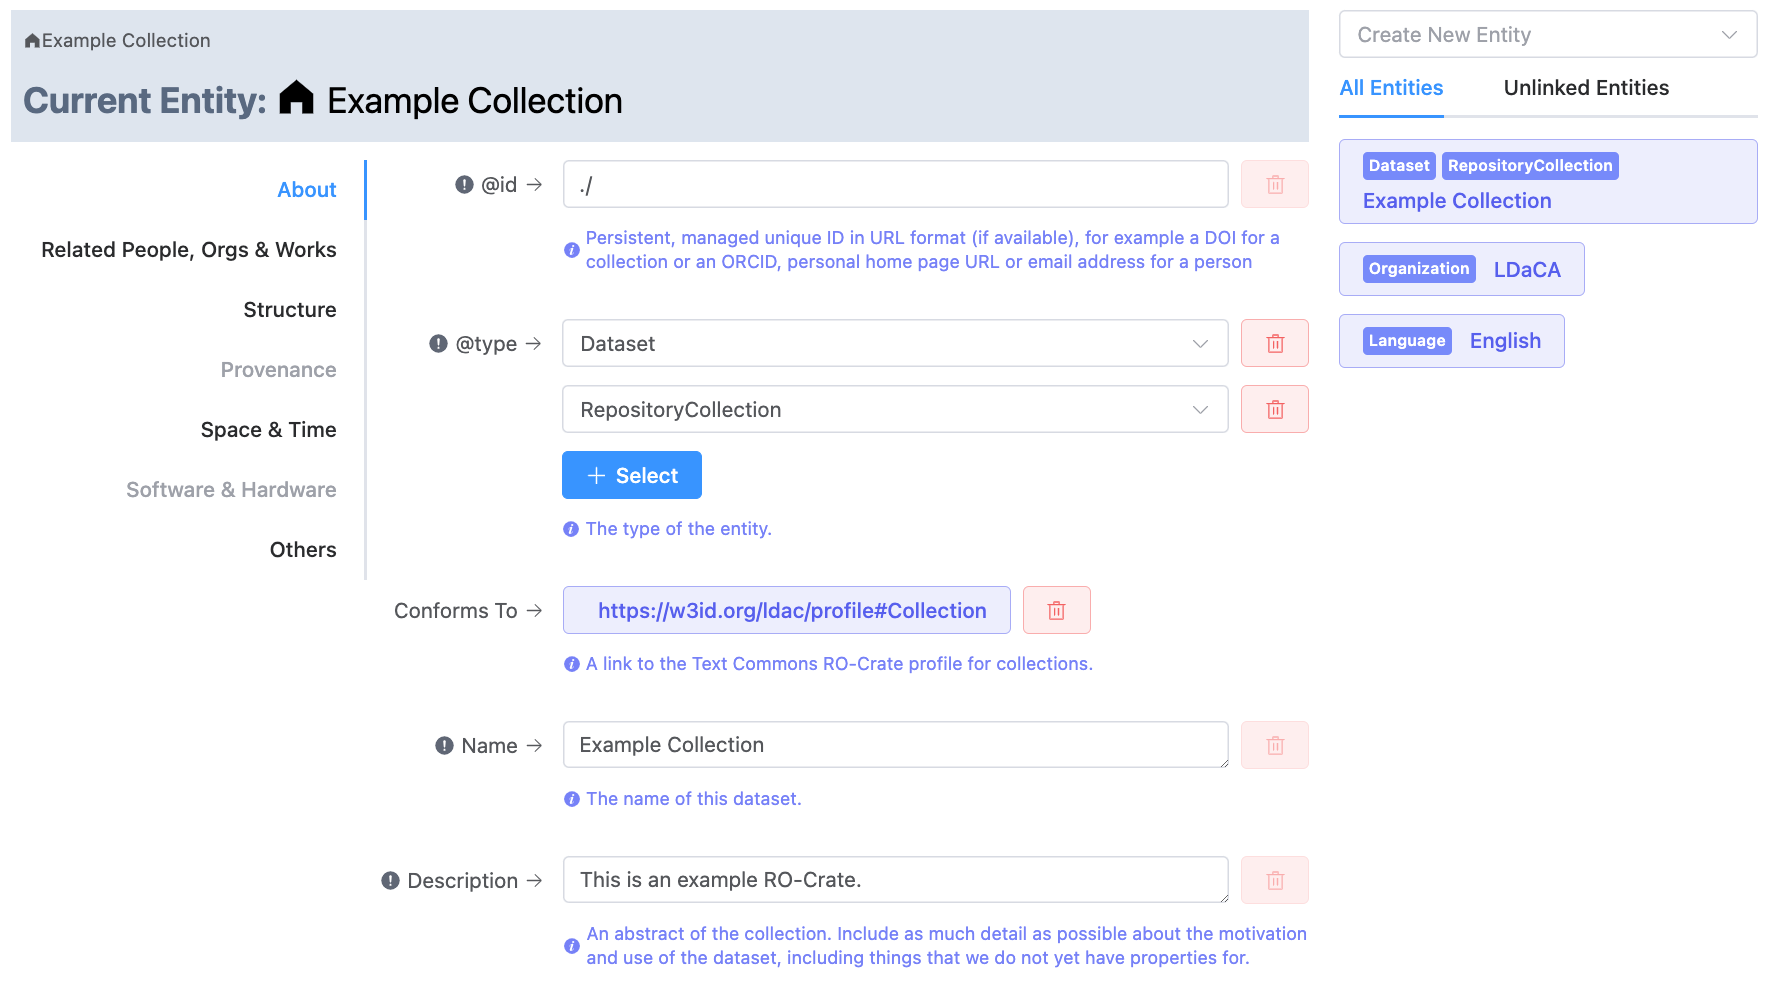
Image Source: LDaCA
Save RO-Crate
- In the Main Menu, select Save.
- For the pop-up message asking Save changes to [Selected Directory]?, select Save changes.

Image Source: LDaCA
- Your RO-Crate is now successfully saved in your working directory, with two files:
- ro-crate-metadata.json: The saved RO-Crate in JSON format.
- ro-crate-preview.html: An HTML file that can be viewed on a web browser and shows the contents of your RO-Crate.
| ro-crate-metadata.json | ro-crate-preview.html |
|---|---|
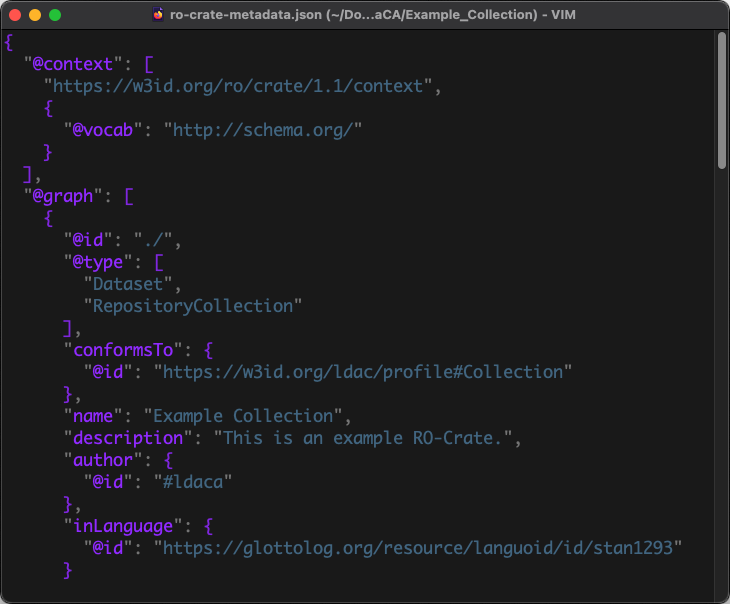 ro-crate-metadata.json Image Source: LDaCA | 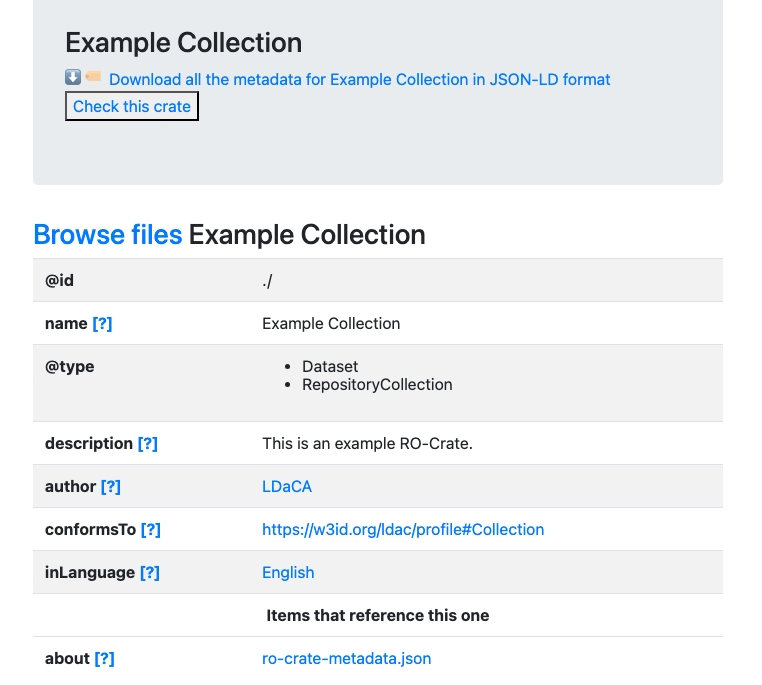 ro-crate-preview.html Image Source: LDaCA |
Required Properties
After saving, if there are required properties missing from your RO-Crate, the section Saved with warnings will appear. You can select the dropdown on this message to view the missing required properties. Clicking on one of these warnings will take you to the relevant property group. If you choose to edit any of these sections, select Save again to ensure your most recent changes are not lost.
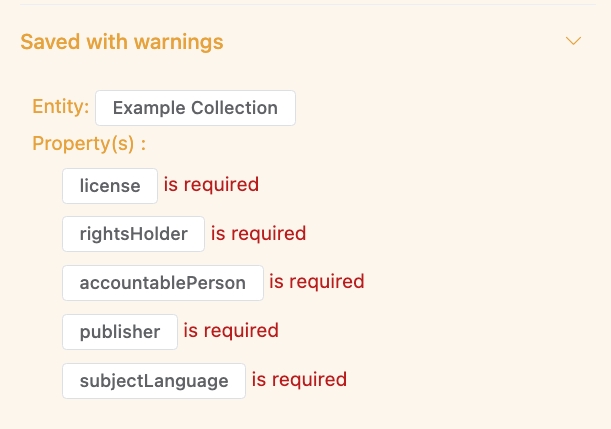
Image Source: LDaCA
Append Data from Spreadsheet
If you have a spreadsheet in a compatible format that you want to add to your collection to assist with metadata description, or you want to create a new RO-Crate only using spreadsheet data, open an existing or new directory, then select Bulk Add in the Main Menu and load the spreadsheet. This will append it to your existing RO-Crate. For more guidance on the spreadsheet requirements and a template, see Spreadsheet Upload.
Note that this option currently only has functionality to add new data, and cannot overwrite or edit existing data in your RO-Crate. Bulk Add also only reads from the spreadsheet and does not write to it.
